

This feature is in and subject to change. To share feedback and/or issues, contact Support.
Use the Custom Metrics Chart page
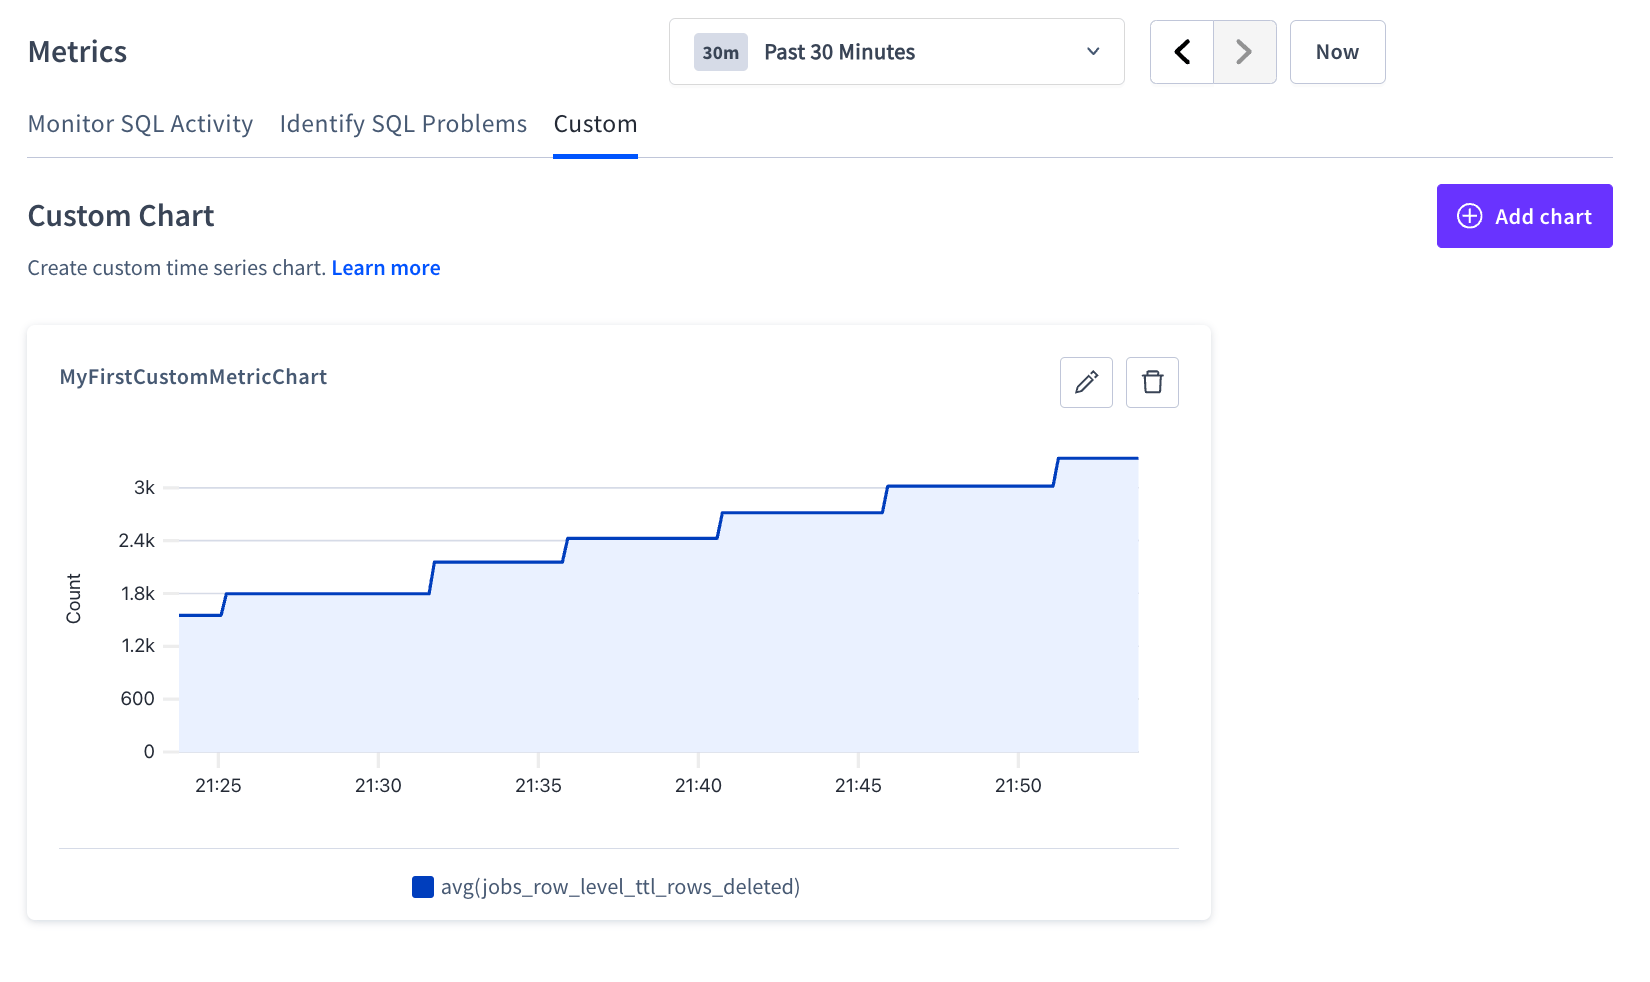
- To set the time range for the page, use the time interval selector at the top right of the page to filter the view for a predefined or custom time interval. Use the navigation buttons to move to the previous, next, or current time interval. When you select a time interval, the same interval is selected for all charts on all tabs of the .
- To add a chart, click Create to create the first custom chart or Add Chart to create subsequent custom charts. The Create custom chart dialog is displayed.
- To edit a chart, click the pencil icon to display the Edit custom chart dialog.
- To delete a chart, click the trash icon.
Create custom chart dialog
In the Create custom chart dialog, you can customize each chart.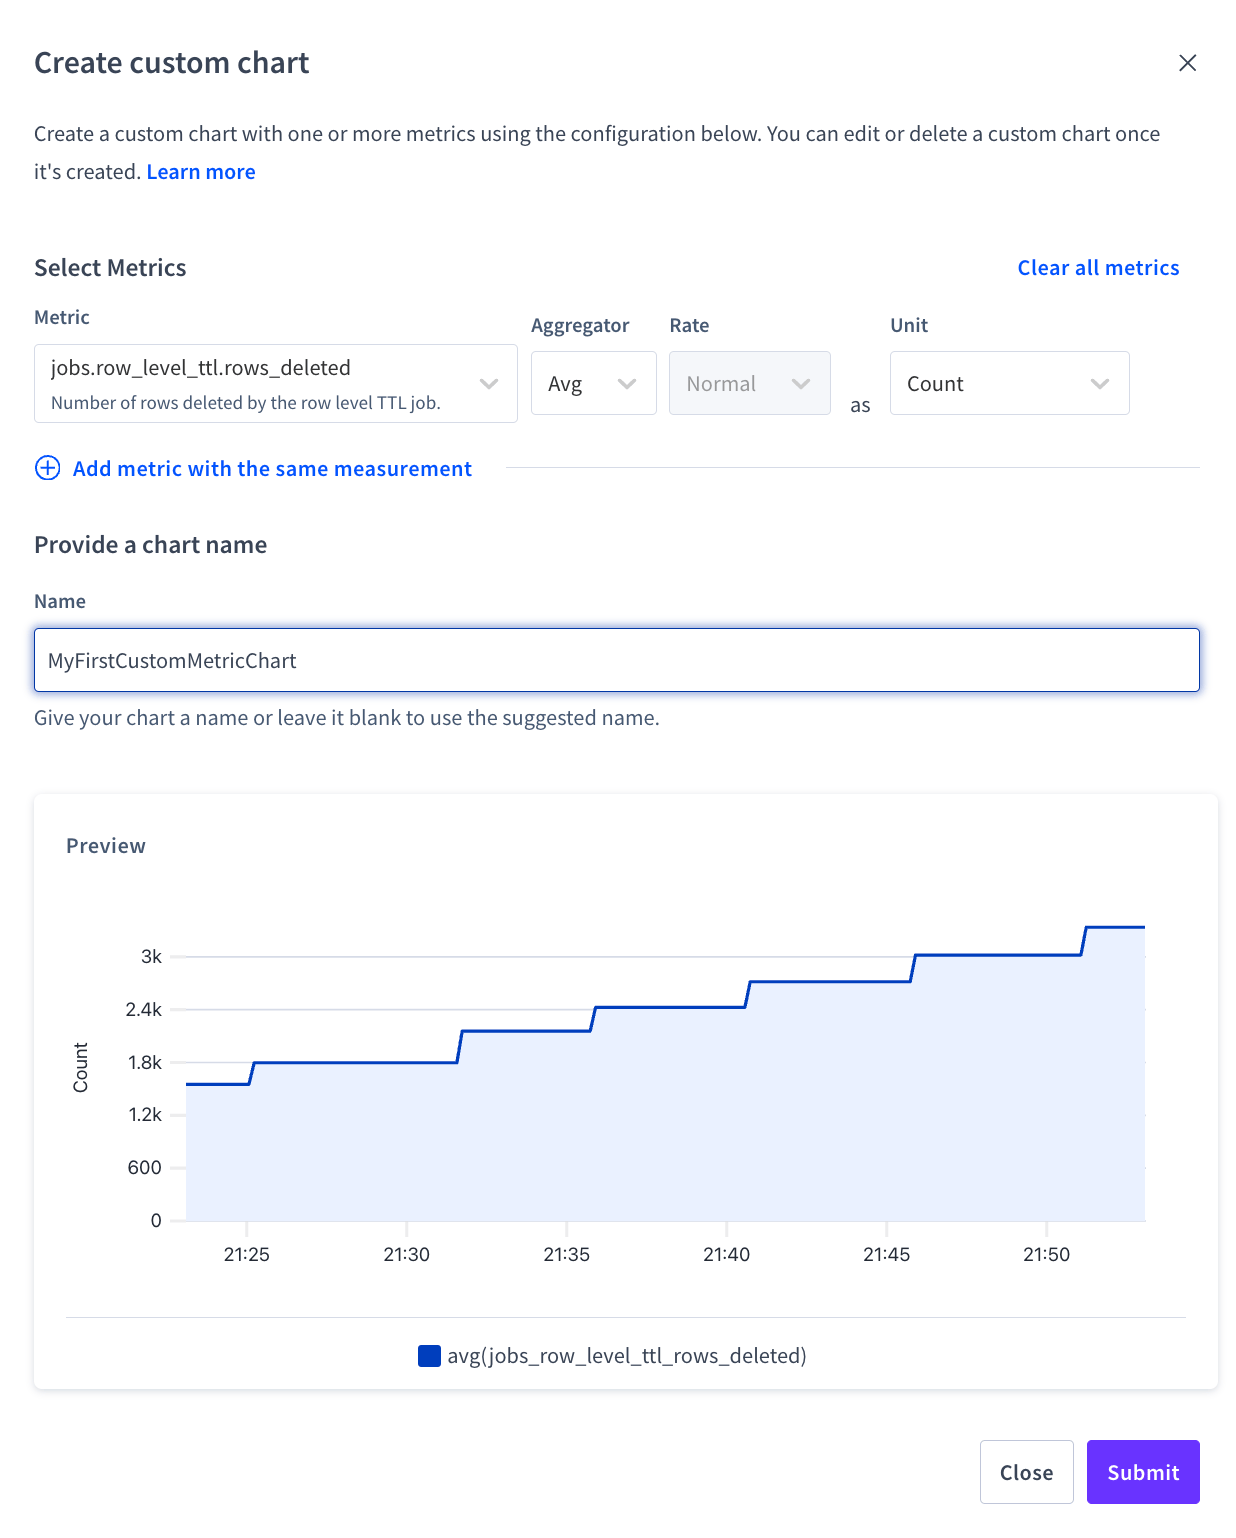
- Under Select metrics, add the metrics to be queried, and how they’ll be combined and displayed. Options include:
- To reset the dialog to a blank state - no metrics, aggregators or units set, click Clear all metrics.
- Under Provide a chart name, enter title text or keep default title with names of selected metrics.
- The Preview shows data, if available, for the selected metrics in the time range set by the Metrics page’s time interval selector.
- Once the chart is verified in the Preview, click Submit to add the new custom chart or click Close to return to the existing Custom Metrics Chart page.