Hi, I’m Darrien, and I’m building a distributed, near-real time, “OSINT data reconnaissance” system. For this system, I’ll be using CockroachDB for its distributed nature, and connecting it to a .NET Core API via NPoco and Npgsql. In this post, I'll give a walkthrough of how I'm building the system, and how these connections work, so you can use them too.
An Exercise in Curiosity and Data Sets
When I first learned about network penetration testing I was enamored with the reconnaissance tools available for gathering data. However, I quickly learned these tools returned disparate data sets and formats. So this presented two problems:
The lack of organization caused writing reports to be just as tedious as performing the test.
Differing data formats make it difficult to relate and analyze the data sets from the tools.
I thought introducing some level of automation could make this “gather and organize” process easier (some clever modeling could alleviate that). To take this idea a step further, if such a system was designed to be distributed across IoT hardware it could introduce new possibilities for physical network pentests. For example: synchronize WiFi signals with perimeter photos. Previous attempts at designing such a system left me with scalability issues. However, a studious suggestion from a professional mentor turned me to Apache Kafka and CockroachDB to handle the data storage and distribution concern of the project. Together, these two technologies could give me distributed message queue connected to a persistent data store!
Being most of my software engineering experience has been in C#, I was left with a question of how to move data from .NET Core to this new distributed database I had never seen before. I’m electing to use the NPoco micro-ORM to make the connection a little easier. So, below I’ll be covering how I connected .NET Core, NPoco, and CRDB.
Currently, this is the (loose) tech stack of the larger OSINT project:
Front-end: React + redux
Back-end: C#/.NET Core, SignalR, Rx.NET, NPoco
“Data flow”: CockroachDB, Apache Kafka
OSINT tooling/consumption: Python + Flask, metagoofil, recon-ng, FOCA, and nmap
NPoco, Or: Why use an ORM?
I’ll admit my immediate reasoning for using an ORM because I commonly rely on one when interfacing with a SQL-compliant database. So, it’s familiar. Also, in my opinion, it helps the data access code become predictable.
A few other immediate benefits:
Improved code readability around queries
Easier data mapping to declared types
hopefully...leading to quicker app prototyping
Choosing an ORM (or micro-ORM for that matter) is almost never an objective decision. For a while EntityFramework was the go-to data framework for C#. Then later versions had some reported performance issues, hence there was a push to third-party libraries. Granted, a lot of improvements have been made with the release of Entity Framework Core, but in that time I’d already grown accustomed to NPoco. If you’d rather use something other than NPoco--go ahead! Just note that this post is specific to NPoco and CockroachDB.
Alright, let’s jump into the tutorial.
Tutorial: Using NPoco with CRDB and .NET Core
Prerequisites: If you don’t already have a running version of CRDB, follow this tutorial by Cockroach Labs to get started. We’ll use a slightly different schema than used in that tutorial, but if you’ve never used CRDB before it’s a good place to start.
It’s not required, but you may also want to read through this “Build a C# App w/ CRDB” article as well. I’ll be borrowing heavily from the code in that article to make a connection to our database.
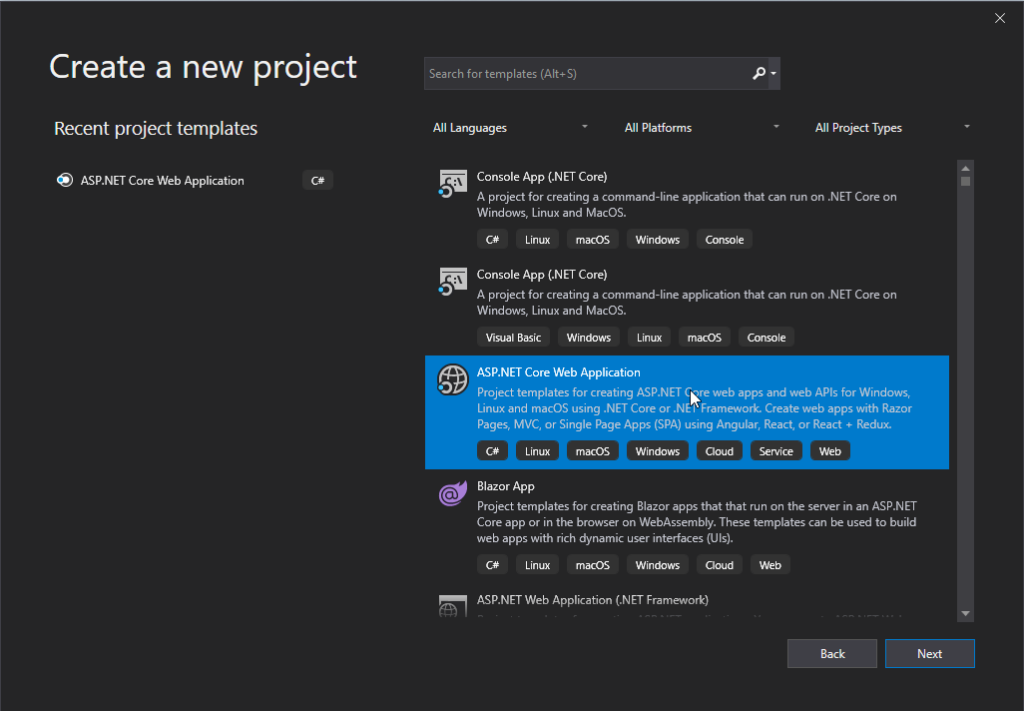
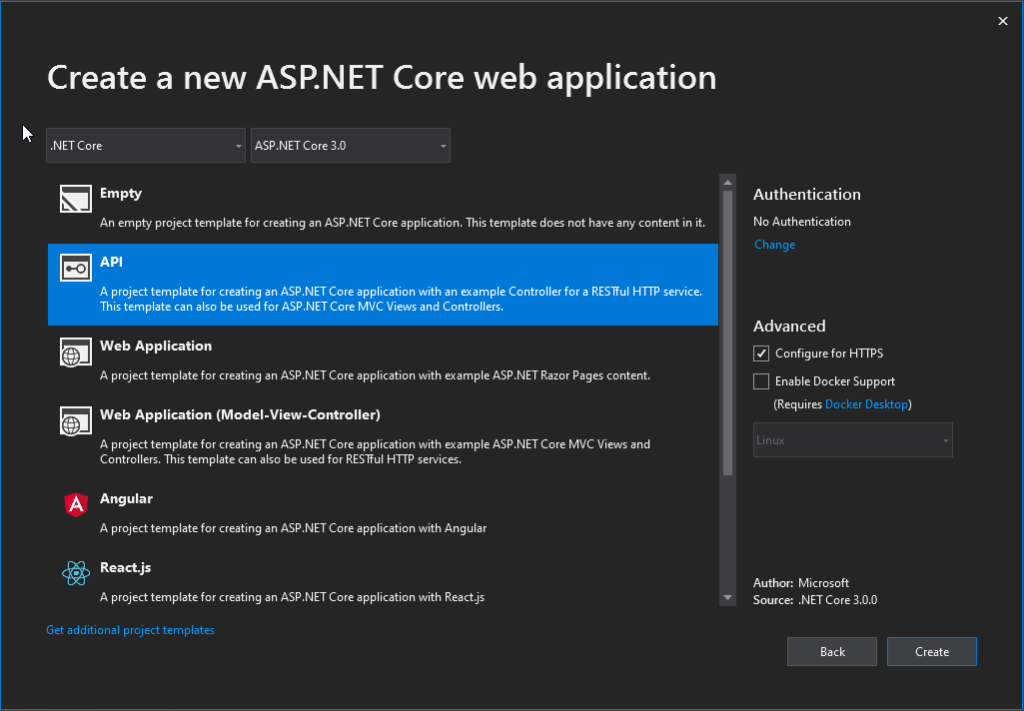
Step 1: Create a New .NET Core Web API Project
First, we’ll walk through the normal initial steps of creating a new .NET Core Web API project in Visual Studio. Be sure to target .NET Core 3.x.
Step 2: Install Packages
Since CockroachDB is compatible with PostgreSQL, we are able to use Npgsql as a data provider, and don’t have to worry about one built specifically for CRDB. Further, we are able to use NPoco as a micro-ORM for the same reason: it has Postgres support built in.
Step 3: Prepare the Database and create our schema
Before we do anything else, we’ll need to ensure CRDB is running and start a SQL session so we can issue commands.
Open a new terminal to start CRDB:
cockroach.exe start --insecure
In another terminal session, start a SQL session. Our work will take place here.
cockroach.exe sql --insecure
Note: If you still have an ‘accounts’ table in your ‘bank’ database (from the article linked above) you’ll need to drop it to continue:
DROP TABLE bank.accounts;
Now we create the database ‘bank’, and set it as the database we’ll be working from.
CREATE DATABASE bank;
SET DATABASE TO bank;
Finally, we create our ‘accounts’ table with the following:
CREATE TABLE accounts(
	id UUID NOT NULL DEFAULT gen_random_uuid(),
	accountownwer STRING,
	balance DECIMAL(15,2),
	datecreated TIMESTAMPTZ,
	lastupdated TIMESTAMPTZ);
Step 4: Create a Basic Model
Now that the database is setup, let’s create the class our data will be mapped to. In your project, create a folder and name it “DataAccess”.
Inside that folder, create a new class: Account
public class Account
{
    	public Guid Id { get; set; }
    	public string AccountOwner { get; set; }
    	public decimal Balance { get; set; }
    	public DateTime DateCreated { get; set; }
    	public DateTime LastUpdated { get; set; }
}
Then we’ll decorate the class with these three attributes. These attributes are the mechanism NPoco uses to map between SQL and your C# classes--so they are crucial!
[TableName(“accounts”)]
[PrimaryKey(“id”)]
[Column(“id”)]
Afterwards, your class should look something like this:

The TableName and PrimaryKey attributes map the underlying class to key pieces of the specified table schema. If they aren’t specified here, then you will need to specify them later in the various NPoco methods querying the database. The same importance can be placed on the Column attribute. If it’s not defined here, there is no reasonable way for NPoco to map class fields to table columns.
Further, notice that all of the attribute names included are completely lowercase. Not camelCase or Pascal-cased, strictly lowercase. This was tricky until I realized how important the casing was, and it resulted in a few mapping failures. Paying close attention to error messages was key here.
A Brief Note on Data Types
Matching types was the most difficult part of the puzzle. I used an (educated) guess-and-check process to determine which CRDB types matched with the C# types. Several times using the wrong schema in CRDB didn’t break the application, but did result in data being inserted in an unexpected format. Determining the CRDB type for a C# Guid and DateTime were the most troublesome for me, because of the extra flexibility CRDB provides. However, discussing the minutiae of these data types is outside of the scope of this article. So, if you’d like to know more, take a look at this CRDB data type reference.
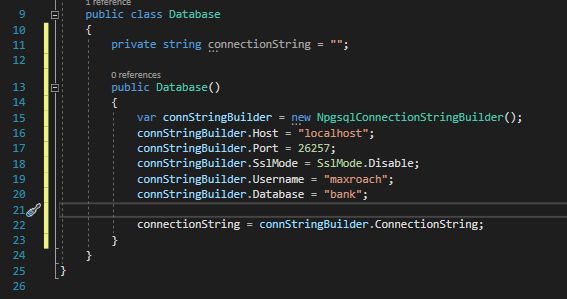
Step 4: Create Basic Database Class
Now that our data mappings are created, let’s make the connection from C# to CRDB. Back in the project, create a new class called “Database”.
This is the class we’ll use to establish a connection to CRDB and write some basic CRUD operations. The implementation is rather simplistic, but it will work for our needs.
First, we lay out a constructor for our class, and use the NpgsqlConnectionStringBuilder class to build our connection string in pieces. Notice, these values are just the defaults with the database ‘bank’ coming from our previous setup. This code is pulled directly from “Build a C# App with Cockroach DB”.
Kicking the Tires
Awesome! At this point we can start using NPoco to write some simple queries. Let’s take it for a spin.
Simple Actions: Select & ‘where’ clause
Let’s start with retrieving a single record. First, we’ll use a couple “using” blocks for creating the connection to the database and a database object. This also sets up automatic disposing of the resources we’re using for the database connection.This method selects a single record based on the ‘id’ parameter. First, NPoco opts for using the term “Fetch” instead of “Select”, but you can think of these synonymously. Then, we use the LINQ expression “Where” to filter the resulting list based on the “Id” field. Finally, we call “FirstOrDefault()” to return a single Account, not List<Account>.
public Account GetSingle(string id)
{
        Account acc;

        using (var conn = new NpgsqlConnection(connectionString))
        {
            using (var db = new NPoco.Database(conn))
            {
                db.Connection.Open();
                acc = db.Fetch().Where(a => a.Id == new Guid(id)).FirstOrDefault();
                db.Connection.Close();
            }
        }

        return acc;
}
Simple Actions: Insert
NPoco makes inserts really simple. We supply the object to be inserted as a parameter, and call “Insert()”.
db.Insert<Account>("accounts", "id", account);
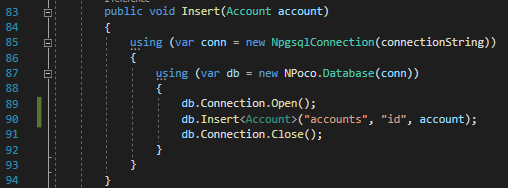
The method I’ve referenced has a few other parts to it, though. Here, “Insert()” becomes “Insert<Account>()” to specify we’re acting on the Account type. Further, an overload for “Insert” is used which requires specifying the table, primary key, and finally the object for insertion. This is one of those weird cases where I encountered some strange behavior of NPoco, the PostgreSql driver, and CRDB not lining up exactly. So, I resolved to supplying as much information as possible to the method.
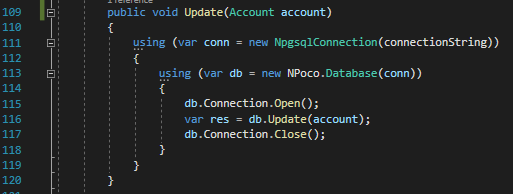
Simple Actions: Update/Upsert
There are several ways to update records with NPoco, and it can be done with a lot of nuance. However, I’ll keep things simple, and cover two of the simpler ways.
For an update, we supply the object after field updates have been made, so the record should still have the same unaltered ‘id’ from the database. Then we pass this to NPoco’s “Update” method. Remember those attributes we decorated the Account class with?--TableName, PrimaryKey, and Column. NPoco uses that metadata to create the proper update statement in SQL!
An “upsert” is just as easy. The “Save” method in NPoco is known to perform an “upsert” operation, as documented here: https://github.com/schotime/NPoco/issues/295. Other than that, we supply our already updated object the same as we did for “Update”, but we specify “Save”. That’s it!

Simple Actions: Delete
Deletes are just as easy. We supply our object as a parameter, and call “Delete()”. Again the metadata supplied by the attributes on the Account class allow NPoco to do its heavy-lifting for this.
var res = db.Delete<Account>(account);

Once again, I encountered some weirdness between NPoco, the Npgsql driver, and CRDB when I tried to supply only a record’s primary key value to perform a delete. I wasn’t able to track down what was failing, but using the whole object, like above, worked well.
Benefit of This Approach
Each ORM has its virtues. I chose NPoco in part because it offers the flexibility to submit complex SQL queries without leaving the pattern used in simpler queries--and with full control over parameterization. Just for fun, below we have an (admittedly contrived) example of how we could implement a CTE query while still utilizing a minimal amount of NPoco.
https://www.cockroachlabs.com/docs/stable/common-table-expressions
string col3 = "someColumnName";
const string MyTableName = "some_special_table";

        	using (var conn = new NpgsqlConnection(connectionString))
        	{
            	using (var db = new NPoco.Database(conn))
            	{
                	db.Connection.Open();

                	var res = db.Execute(new Sql($@"
                    	WITH bankers_cte AS (SELECT * FROM employees WHERE type == 'banker')

                    	select col1, col2, {col3}
                    	from {MyTableName} sst
                    	where sst.col1 == bankers_cte.colX", col3));

                	db.Connection.Close();
            	}
        	}
In case you aren’t familiar with C#’s string formatting options, the ‘$’ character provides a sugar-syntax alternative to the older “String.format()”, and the ‘@’ allows for multi-line string. A nice two-handed punch for when you want to write multi-line SQL queries in your code without confusing formatting issues.
Closing: Quick Gains, a Word about a Prototype Project
I’m still in the early stages of working with CRDB and NPoco, so there are no guarantees that I’ll continue with this pairing, but already it’s allowed me to get off the ground with CRDB just like I would any other SQL-compliant database. For now, it’s great to be able to query data knowing CRDB is doing the hard work underneath to keep things scalable.
I’ll continue developing my prototype application, and should this crazy idea work I’ll share more about prototyping with CRDB and my adventures with its distributed and “real-time” capabilities. As a part of that continued effort, I’d like to experiment with adapting this architecture for IoT, specifically on Raspberry Pi. The release of the RaspberryPi 4 opened the hardware up to 64-bit processing and now 4GB of RAM. Ideally, all of this experimentation would prove a concept for a data streaming system, running on IoT hardware, across a MANET (mobile ad-hoc network).
Maybe it’ll work...maybe I’ll fry a few boards. ;)