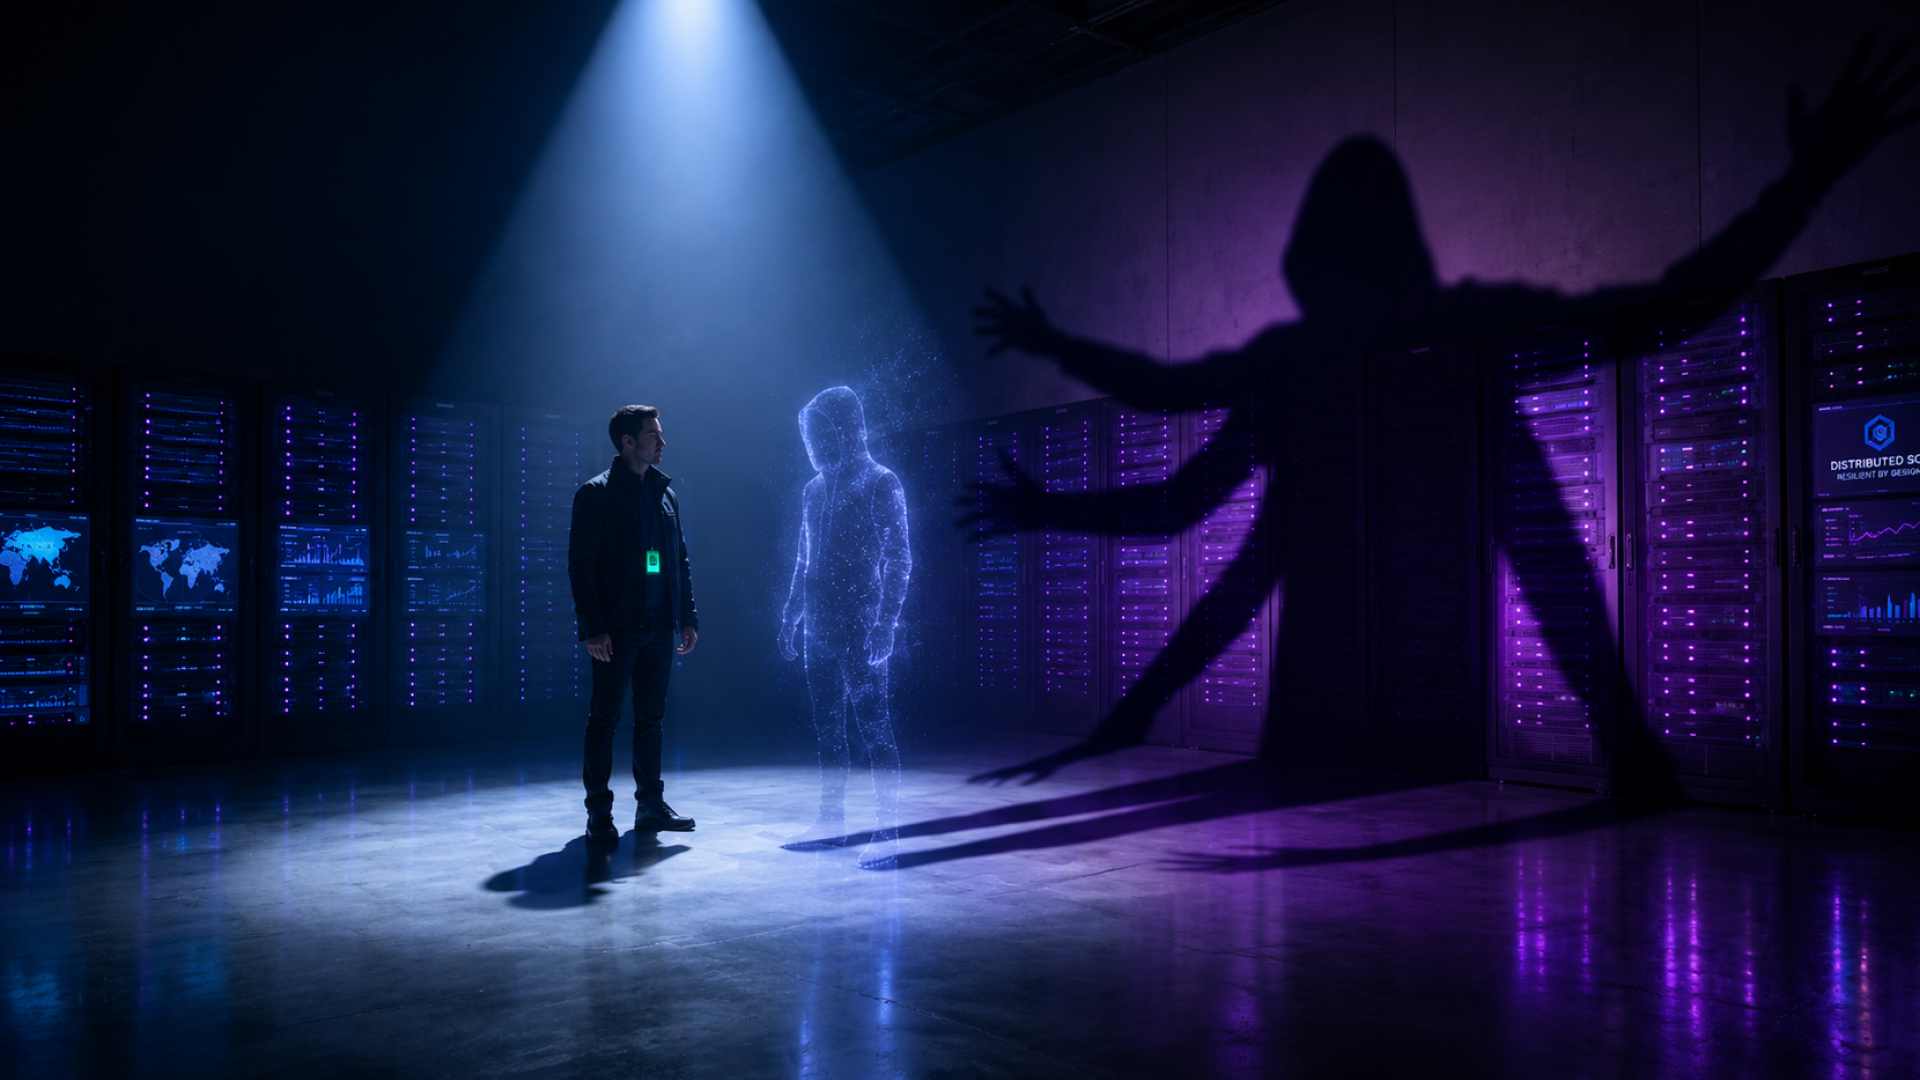
In this codelab, we will walk through the process of creating an image recognition engine. Its primary purpose will be to identify employees entering a building who may or may not be wearing a mask. Understanding how many employees are wearing a mask at any point in time could assist with return-to-office scenarios and possible contact tracing. This in turn would enhance building safety and awareness.
To accomplish this, we will be leveraging Google’s machine learning capabilities with its Vision API product and CockroachDB Serverless to store and retrieve data. This will allow us to use pre-trained image models to recognize both people and the likelihood of wearing personal protective equipment (PPE) in a secure relational database environment with high scalability and global scale.
Estimated Lab Time: 45 mins
Codelab Overview
Setup CockroachDB Serverless Cluster
Create Visual Recommendation Database
Create Google Vision AI Application
Before we jump into the step by step tutorial let’s clarify a couple key points.
What is image recognition?
Image recognition is software that helps us identify all aspects of a picture or image. You and I can look at a picture and identify the contents with ease, but AI needs to be trained to do so.
Deep learning is used to help train machine learning algorithms to improve their ability to identify image content. Deep learning is a type of machine learning and artificial intelligence (AI) that imitates the way humans gain certain types of knowledge.
There are numerous use cases for image recognition, but a common one would be to provide metadata tags or labels, relative to a given image.
For example, What do you see in the image below? The image contains two people wearing masks, one male, one female, both wearing backpacks, jackets, long hair, outdoors, trees, buildings, people walking, what are the dominant colors….etc.
The Machine Learning would also score a confidence rating for each tag. The higher the rating the more confidence the AI has that it is correctly labeling an image.

These labels are then used later to perform an image content search, such as: Show me all the pictures that contain people with Personal Protective Equipment(masks). In the codelab we use googles Vision AI.
Okay, let’s start building an image recognition engine.
Step 1: Create CockroachDB Serverless Instance
Getting started with CockroachDB Serverless is easy. In several quick steps, you can choose to get started with CockroachDB Serverless on Google Cloud.
Navigate to: https://cockroachlabs.cloud/ Now, create an account (Creating an account does not require a Credit Card).
Several options are pre-filled when you choose a plan, such as cloud provider(GCP), region(us-central1), and a dynamically created cluster name. Note: One can change the cluster name to something more meaningful.
To approve your cluster settings: Your cluster will be created in approximately 20-30 seconds and the Connect dialog will display.
Once your cluster is ready, you will see a window with information on how to connect to your cluster.
Change the “Choose your OS” option to: Linuxz
5. Copy each command-line prompt and the connection string (seperate tab) to a separate notepad for use later in this lab.
Note: Make sure to label each command line command with its purpose: CRDB client, CA cert, DB connect and Connection String
Step 2: Configuring our Google Cloud Platform Account
Go to cloud.google.com and login with your google account. If you don’t have a google account, please create a free trial account by following the instructions at this link.
If not already there, go to https://console.cloud.google.com/
Create a new project, by selecting the following dropdown in the top left:
A new window will pop up. In it, select “New Project” in the top right:
Give your Vision API demo a new project name. Let’s go with “cockroach-vision-demo” and click the “Create” button:
After your new project is done being created, go back to the dropdown in Step 3, select your new project name
When the right project is selected, the name will change to reflect this in the dropdown in the top left of your console:
Step 3: Configure a Node.js application on a GCE Debian VM on GCP
Create a Debian Linux GCE VM instance using the instructions given here.
Note: When creating your instance, please be sure to enable “Allow full access to all Cloud APIs” under “Access scopes”
2. In the search box at the top, enter “Firewall” and select the matching suggestion”Firewall” under “VPC network”
3. Click “Create Firewall Rule” at the top to create a new rule to open up the needed port for our new server
4. Enter the following details and click “Create”:
Name: port8080
Targets: All instances in the network
Source IP ranges: [your specific source IP / range]
Protocols and ports:
tcp: 8080
Note: You can enter your IP using the Google search “what is my ip”.
5. In the search field up top, enter “compute engine” and select the suggestion:
6. After your instance is created, SSH to your instance by clicking on the SSH button of your instance.
7. You should see a CloudShell window similar to this open…
Step 4: Connecting to CockroachDB Serverless
Now that we have created a GCE VM and firewall rule, let’s verify that we can connect and run some queries. Use CloudShell for the following steps.
Note: You will need the copied DB connection information noted in Step 1.4 of this lab to proceed
As part of this blog we will be using the Command-line parameters.
First, we will need to download the CockroachDB linux binary. This will allow us to use the command line sql.
curl https://binaries.cockroachdb.com/cockroach-v21.1.9.linux-amd64.tgz | tar -xz && sudo cp -i cockroach-v21.1.9.linux-amd64/cockroach /usr/local/bin/
2. Second, download the certificate to access the cluster securely. This will be used for when we want to connect to our database.
Paste the CA Certificate copied from Step 1.4
Example:
curl --create-dirs -o $HOME/.postgresql/root.crt -O https://cockroachlabs.cloud/clusters/ff666371-a7d2-4e24-abd4-d5da3d767a05/cert
3. Now, connect to the database using the command-line copied from Step 1.4. The result will show the sql command-line prompt. The database will be ‘defaultdb’. We will be creating a separate database for our application below.
Example:
cockroach sql --url 'postgresql://{DB_USER_NAME}:{DB_PASSWORD}@free-tier.gcp-us-central1.cockroachlabs.cloud:26257/defaultdb?sslmode=verify-full&sslrootcert='$HOME'/.postgresql/root.crt&options=--cluster%3Dvisual-rec-3713'#
# Welcome to the CockroachDB SQL shell.
# All statements must be terminated by a semicolon.
# To exit, type: \q.
#
# Client version: CockroachDB CCL v21.1.7 (x86_64-apple-darwin19, built 2021/08/09 17:58:36, go1.15.14)
# Server version: CockroachDB CCL v21.1.6 (x86_64-unknown-linux-gnu, built 2021/07/20 15:30:39, go1.15.11)
warning: server version older than client! proceed with caution; some features may not be available.
# Cluster ID: c0854300-2c35-44b4-a7d1-2af71acd3e4c
#
# Enter \? for a brief introduction.
#
jeff@free-tier.gcp-us-central1.cockroachlabs.cloud:26257/defaultdb>
4. Using familiar ANSI SQL without having to learn a new language makes using CockroachDB Serverless quick and easy.
Let’s create our applications database. We will name the database visual_recommendations_store.
The syntax is simple:
CREATE DATABASE content_identification_store;
jeff@free-tier.gcp-us-central1.cockroachlabs.cloud:26257/defaultdb> create database content_identification;
CREATE DATABASE

Time: 73ms total (execution 14ms / network 59ms)
5. Now that we have created our database, we will need to create the tables that will be used by our application.
Run the following sql statements to create the database tables required by the application:
create table content_identification_store.Labels(
  run_time timestamp,
  filename varchar(150),
  description varchar(150),
  score decimal(10, 10)
);create table content_identification_store.click_events (
  id UUID NOT NULL DEFAULT gen_random_uuid(),
  action_time timestamp
);
6. Exit the interactive SQL shell, but typing either “quit” or “exit”.
7. Install Node.js and Express by executing following commands:
Note: Commands in this section may generate a “WARN” message. For the purposes of this codelab one can continue without issue.
sudo apt-get update
sudo apt-get install -y nodejs
sudo apt-get install npm
curl -sL https://deb.nodesource.com/setup_8.x | sudo -E bash -
sudo apt-get install -y build-essential
npm install nconf
npm install express --save
8. Install the PostgreSQL extension for Node.js. CockroachDB supports the PostgreSQL wire protocol and the majority of PostgreSQL syntax. This means that existing applications built on PostgreSQL can often be migrated to CockroachDB without changing application code.
npm install pg
9. Install vision library:
npm install --save @google-cloud/vision
10. Install storage library:
npm install --save @google-cloud/storage
11. Enable cloud vision API:
gcloud services enable vision.googleapis.com
12. We will now create a GCS bucket with a name for your project. Replace [bucketname] with your unique name.
Note: GCS buckets have to have a globally unique name to be accepted
gsutil mb gs://[bucketname]
13. Make bucket public:
gsutil defacl set public-read gs://[bucketname]
14. Let’s switch back to the console and navigate to our new Google Cloud Storage bucket, by entering “Storage” in the search query and selecting the recommendation. Please verify your new bucket exists and select it.
15. Once selected, you can drag and drop a few sample images with people wearing hospital masks for our demo server to process:
Note: Choose multiple images. Ensure that you have at least one image with a person wearing a mask and one image with a person not wearing a mask.
16. Switch back to your SSH window and lets create a folders need for our application code named: “nodejs-express-cockroach” and a sub folder ‘“public”:
mkdir -p nodejs-express-cockroach/public
17. Change directory to this folder:
cd nodejs-express-cockroach
18. Preparing the app
19. Initialize a package.json file with the following command:
npm init
Setup a new node project. You can press enter to accept the default settings, but when you get to the entry point, type in “server.js” .
Enter “yes” when prompted and press enter
2. Change directory to “public” folder for our server and select it, by entering the following command:
cd public
3. Let’s create the client side file using the following command and copying the following script content into the editor. Save the file using Ctrl + X:
nano client.js
console.log('Client-side code running');

const button = document.getElementById('myButton');
button.addEventListener('click', function(e) {
 console.log('Vision API Trigger button  was clicked');

 fetch('/clicked', {method: 'POST'})
   .then(function(response) {
     if(response.ok) {
       console.log('Label was recorded');
       return;
     }
     throw new Error('Request failed.');
   })
   .catch(function(error) {
     console.log(error);
   });
});

setInterval(function() {
 fetch('/clicks', {method: 'GET'})
   .then(function(response) {
     if(response.ok) return response.json();
     throw new Error('Request failed.');
   })
   .then(function(data) {
     document.getElementById('counter').innerHTML = `Number of total files processed ${data.length}`;
   })
   .catch(function(error) {
     console.log(error);
   });
}, 1000);
4. Let’s create the web server home page using the following command and entering the following script content into the editor. Save the file using Ctrl + X:
nano index.html
<!DOCTYPE HTML>
<html>
<head>
    <title>Using Google Machine Learning and CockroachDB to build a simple Image Recognition Engine for enhanced Safety and Awareness</title>
</head>
<body>
<div style="text-align:center;">
 <meta charset="utf-8"><meta charset="utf-8"><b style="font-weight:normal;"><p></p><p></p><p></p><p></p><p></p><p></p><p></p><p></p><p></p></b><p><b style="font-weight:normal;"><span style="font-size:36pt;font-family:'Google Sans',sans-serif;color:#3C4043;background-color:transparent;font-weight:700;font-style:normal;font-variant:normal;text-decoration:none;vertical-align:baseline;white-space:pre;white-space:pre-wrap;">DEMO: Using </span><span style="font-size:36pt;font-family:'Google Sans',sans-serif;color:#FBBC05;background-color:transparent;font-weight:700;font-style:normal;font-variant:normal;text-decoration:none;vertical-align:baseline;white-space:pre;white-space:pre-wrap;">Google Machine Learning</span><span style="font-size:36pt;font-family:'Google Sans',sans-serif;color:#3C4043;background-color:transparent;font-weight:700;font-style:normal;font-variant:normal;text-decoration:none;vertical-align:baseline;white-space:pre;white-space:pre-wrap;"> and </span><span style="font-size:36pt;font-family:'Google Sans',sans-serif;color:#4285F4;background-color:transparent;font-weight:700;font-style:normal;font-variant:normal;text-decoration:none;vertical-align:baseline;white-space:pre;white-space:pre-wrap;">CockroachDB</span><span style="font-size:36pt;font-family:'Google Sans',sans-serif;color:#3C4043;background-color:transparent;font-weight:700;font-style:normal;font-variant:normal;text-decoration:none;vertical-align:baseline;white-space:pre;white-space:pre-wrap;"> to build a simple </span><span style="font-size:36pt;font-family:'Google Sans',sans-serif;color:#34A853;background-color:transparent;font-weight:700;font-style:normal;font-variant:normal;text-decoration:none;vertical-align:baseline;white-space:pre;white-space:pre-wrap;">Image Recognition Engine</span><span style="font-size:36pt;font-family:'Google Sans',sans-serif;color:#4285F4;background-color:transparent;font-weight:700;font-style:normal;font-variant:normal;text-decoration:none;vertical-align:baseline;white-space:pre;white-space:pre-wrap;"> </span><span style="font-size:36pt;font-family:'Google Sans',sans-serif;color:#000000;background-color:transparent;font-weight:700;font-style:normal;font-variant:normal;text-decoration:none;vertical-align:baseline;white-space:pre;white-space:pre-wrap;">for</span><span style="font-size:36pt;font-family:'Google Sans',sans-serif;color:#4285F4;background-color:transparent;font-weight:700;font-style:normal;font-variant:normal;text-decoration:none;vertical-align:baseline;white-space:pre;white-space:pre-wrap;"> </span><span style="font-size:36pt;font-family:'Google Sans',sans-serif;color:#EA4335;background-color:transparent;font-weight:700;font-style:normal;font-variant:normal;text-decoration:none;vertical-align:baseline;white-space:pre;white-space:pre-wrap;">Enhanced Safety and Awareness</span></b></p><p></p><p>    </p><p></p><p></p><p>

    <button id="myButton">Trigger batch Vision API job!</button>
  </p></div>
  </body>
  <script src="client.js"></script>
</html>
Note: See the highlighted section in the code below. It is where you need to enter your GCS bucket name previously created and your Connection string. Do not forget to edit your connection string with your DB username and password.
The three variables that will need to be updated are:
The connection string for your CockroachDB Serverless needs to be updated to reflect the absolute path of the certificate file.
a. Run the following command to get the output of the variable $HOME:
echo $HOME
Command output should appear as follows:
echo $HOME
/home/bob
b. The connection string copied from Step 1.4, needs to be updated to change the ‘$HOME’ variable and reflect the output of the command in step 1a.
Example: The connection string will be utilized in the code server.js below.
'postgresql://bob:bobspassword@free-tier.gcp-us-central1.cockroachlabs.cloud:26257/defaultdb?sslmode=verify-full&sslrootcert=/home/bob/.postgresql/root.crt&options=--cluster%3Dvisual-rec-3713';
2. gcpbucket - This is the bucket you created to store the images.
3. connectionString - Update with the Database connection string that was provided when you created your CockroachDB Serverless cluster. The final connection string format should be similar to step 1.b above.
nano server.js
console.log('NOTICE: Server-side code running');
const express = require('express');
const app = express();
const async = require('async');
const { Client } = require("pg");
////#####################
//User entered values: gcp bucket and CockroachCloud connection string.
// the certificate root.crt needs to be local to the system running server.js
const gcpbucket = 'gs://[INSERT YOUR BUCKET STRING]';
const connectionString ='[INSERT YOUR CONNECTION STRING]';
const PORT = 8080;
//End user defined values
////#####################
var strOutput;
var strOutput2;
var strOutput3;
// serve files from the public directory
app.use("/", express.static('../public/'));

const CRDB_client = new Client({
 connectionString: connectionString
});

// Connect to database
CRDB_client.connect(function(err,database) {
 if(err) {
   return console.log(`ERROR: Connecting to your CockroachCloud Instance: ${err}`)
 }
   console.log("NOTICE: Successfully connected to the CockroachCloud Instance.");
   db = database;

// start the express web server listening on 8080
   console.log('NOTICE: Starting the express server on port: ' + PORT );
   app.listen(PORT, (err) => {
   if (err) console.log('ERROR: Unable to start the express web server.')
   console.log('NOTICE: Express web server listening on port: ' + PORT);
   console.log('NOTICE: Input GCP bucket is set to: ' + gcpbucket);
   });
 });
//
// serve the homepage
app.get('/', (req, res) => {
console.log('NOTICE: Serve the homepage.');
res.sendFile(__dirname + '/index.html');
});

 // add a document to the DB recording the click event
app.post('/clicked', (err, req, res) => {
 listFiles(gcpbucket);
console.log('NOTICE: Recording the click event.');
  const query = CRDB_client.query(new Client.Query("INSERT INTO content_identification_store.click_events(action_time) values (current_timestamp)"));
});

// get the click data from the database
app.get('/clicks', (req, res) => {
 console.log('NOTICE: Get the click data from the database.');

   const query = CRDB_client.query(new Client.Query("SELECT count(*) AS CLICK_COUNT FROM content_identification_store.click_events;"));
   query.on('row', (row) => {
       console.log("NOTICE: Number of visits", row);
   })
   query.on('ERROR:', (res) => {
      console.log(res);
   });
});

async function detectFulltext(fileName) {

// Imports the Google Cloud client library
const vision = require('@google-cloud/vision');

// Creates a client
const client = new vision.ImageAnnotatorClient();

// Performs label detection on the image file
 const [result] = await client.labelDetection(fileName);
 const labels = result.labelAnnotations;
 console.log('NOTICE: Evaluating Image: ' , fileName);
 strOutput = fileName + "  " + '\n' ;

 labels.forEach(label => {
 console.log(label.description);
 console.log(label.score);
  const query = CRDB_client.query(new Client.Query("INSERT INTO content_identification_store.labels(run_time, filename, description, score) values (current_timestamp, $1,$2,$3)",[fileName,label.description,label.score]));
 strOutput = strOutput + label.description + "  " + label.score + "  " + '\n';
 });

  const click = {visionAPIResult: strOutput};
  console.log(click);

}

async function listFiles(bucketName) {
// Imports the Google Cloud client library
 console.log('NOTICE: Getting File List.');
const {Storage} = require('@google-cloud/storage');

// Creates a client
const storage = new Storage();

// Lists files in the bucket
const [files] = await storage.bucket(bucketName).getFiles();
console.log('NOTICE: Starting Image Classification Process');
files.forEach(file => {
// Performs label detection on the image file
var  fileName = file.name;
 detectFulltext(bucketName + '/'  + fileName);
});
}
19. Running our app. From nodejs-express-cockroach/public directory run server.js
node server.js
Step 5: Kick off the batch process from any internet client terminal
1. Switch back to the console view to look at “VM Instances” under “Compute Engine”. Our external IP address is listed next to our instance.
2. Use a web-enabled client terminal to visit your new application using the external URL in the previous step and specify port 8080. You should see a webpage similar to this:
Step 6: Verify new metadata in the console and CockroachDB
1. While monitoring your SSH console window, click on the “Trigger batch Vision API job” button to kick off our job. If correct, you should see a flurry of results as it combs through your GCS bucket for images within seconds. Here is an example when done:
Note: The command line results show which image it is currently processing (file name) and the likelihood of this employee wearing a mask (Personal Protective Equipment (PPE)). In the example below, the probability is 74% which is a good result:
2. Let’s switch over to our Cockroach Database and verify our results.
CockroachDB comes with a built-in client for executing SQL statements from an interactive shell or directly from the command line.
Start the interactive SQL shell:
cockroach sql --url ‘<connection string>’
Execute SQL from the command line:
cockroach sql --url <connection string> --execute="<sql-statement>" <flags>
For example:
In the following query we are going to return data where the description is ‘Personal Protective equipment’. ‘Personal protective equipment’ is the description for facemasks.
Lets review the output of the Vision API process. We will now run a simple SQL query against our database to verify the data. The query will return all the data in the ‘labels’ table.
SELECT *
  FROM content_identification_store.labels
 WHERE description ='Personal protective equipment';
Execute the SQL from the command-line:
cockroach sql --url 'postgresql://jeff:thisisademo1!@free-tier.gcp-us-central1.cockroachlabs.
cloud:26257/defaultdb?sslmode=verify-full&sslrootcert='$HOME'/.postgresql/root.crt&options=--cluster%3Dcarlson-free-tier-3709' --execute "SELECT * FROM content_identification_store.labels WHERE description ='Personal protective equipment';"
Query output:
Technologies leveraged in this article:
Google Vision API
Use pre-trained Vision API models to detect emotion, understand text, and more.
Detect and classify multiple objects including the location of each object within the image. Learn more about object detection with Vision API and AutoML Vision.
Google Cloud Storage
Blob object storage for companies of all sizes. Store any amount of data. Retrieve it as often as you’d like.
CockroachDB Serverless
CockroachDB Serverless is a serverless, free-to-start deployment of CockroachDB. It’s delivered as an ops-free SQL API in the cloud, giving your apps elastic scale, and your users low latency access to uninterrupted data.
CockroachDB was designed from the ground up to act as a shared-nothing, distributed SQL database. It guarantees full ACID compliance with serializable isolation between transactions.
Build your next breakthrough application without worrying about database connections and complex query constructions