

Before you begin
Review TPC-C concepts
TPC-C provides the most realistic and objective measure for OLTP performance at various scale factors. Before you get started, consider reviewing .Request a trial license
Reproducing these TPC-C results involves using CockroachDB’s feature to ensure replicas for any given section of data are located on the same nodes that will be queried by the load generator for that section of data. Partitioning helps distribute the workload evenly across the cluster. The partitioning feature requires an Enterprise license, so request a 30-day trial license before you get started. You should receive your trial license via email within a few minutes. You’ll enable your license once your cluster is up-and-running.Step 1. Set up the environment
Provision VMs
- Create 86 VM instances, 81 for CockroachDB nodes and 5 for the TPC-C workload.
- Create all instances in the same region and the same security group.
- Use the
c5d.9xlargemachine type. - Use local SSD instance store volumes. Local SSDs are low latency disks attached to each VM, which maximizes performance. This configuration best resembles what a bare metal deployment would look like, with machines directly connected to one physical disk each. We do not recommend using network-attached block storage.
- Note the internal IP address of each instance. You’ll need these addresses when starting the CockroachDB nodes.
This configuration is intended for performance benchmarking only. For production deployments, there are other important considerations, such as security, load balancing, and data location techniques to minimize network latency. For more details, see the .
Configure your network
CockroachDB requires TCP communication on two ports:26257for inter-node communication (i.e., working as a cluster) and for the TPC-C workload to connect to nodes8080for exposing your DB Console
Inter-node and TPCC-to-node communication
DB Console
Step 2. Start CockroachDB
The
--insecure flag used in this tutorial is intended for non-production testing only. To run CockroachDB in production, use a secure cluster instead.- SSH to the first VM where you want to run a CockroachDB node.
- .
-
Start CockroachDB using the command:
Each node will start with a that includes an artificial “rack number” (e.g.,
--locality=rack=0). Use 81 racks for 81 nodes so that 1 node will be assigned to each rack. -
Repeat these steps for the other 80 VMs for CockroachDB nodes. Each time, be sure to:
- Adjust the
--advertise-addrflag. - Set the flag to the appropriate “rack number”.
- Adjust the
-
On any of the VMs with the
cockroachbinary, run the one-time command to join the first nodes into a cluster:
Step 3. Configure the cluster
You’ll be importing a large TPC-C data set. To speed that up, you can temporarily disable replication and tweak some cluster settings. You’ll also need to enable the Enterprise license you requested earlier.-
SSH to any VM with the
cockroachbinary. -
Launch the :
-
Adjust some :
-
Change the default to the following value:
-
Enable the trial license you requested earlier:
-
Exit the SQL shell:
Step 4. Import the TPC-C dataset
CockroachDB comes with a number of for simulating client traffic. This step features CockroachDB’s version of the TPC-C workload.- SSH to the VM where you want to run TPC-C.
- .
-
Import the TPC-C dataset:
This will load 11.2 TB of data for 140,000 “warehouses”. This can take up to 8 hours to complete. You can monitor progress on the Jobs screen of the DB Console. Open the by pointing a browser to the address in the
adminfield in the standard output of any node on startup.
Step 5. Partition the database
- to divide all of the TPC-C tables and indexes into 81 partitions, one per rack, and then use to pin those partitions to a particular rack.
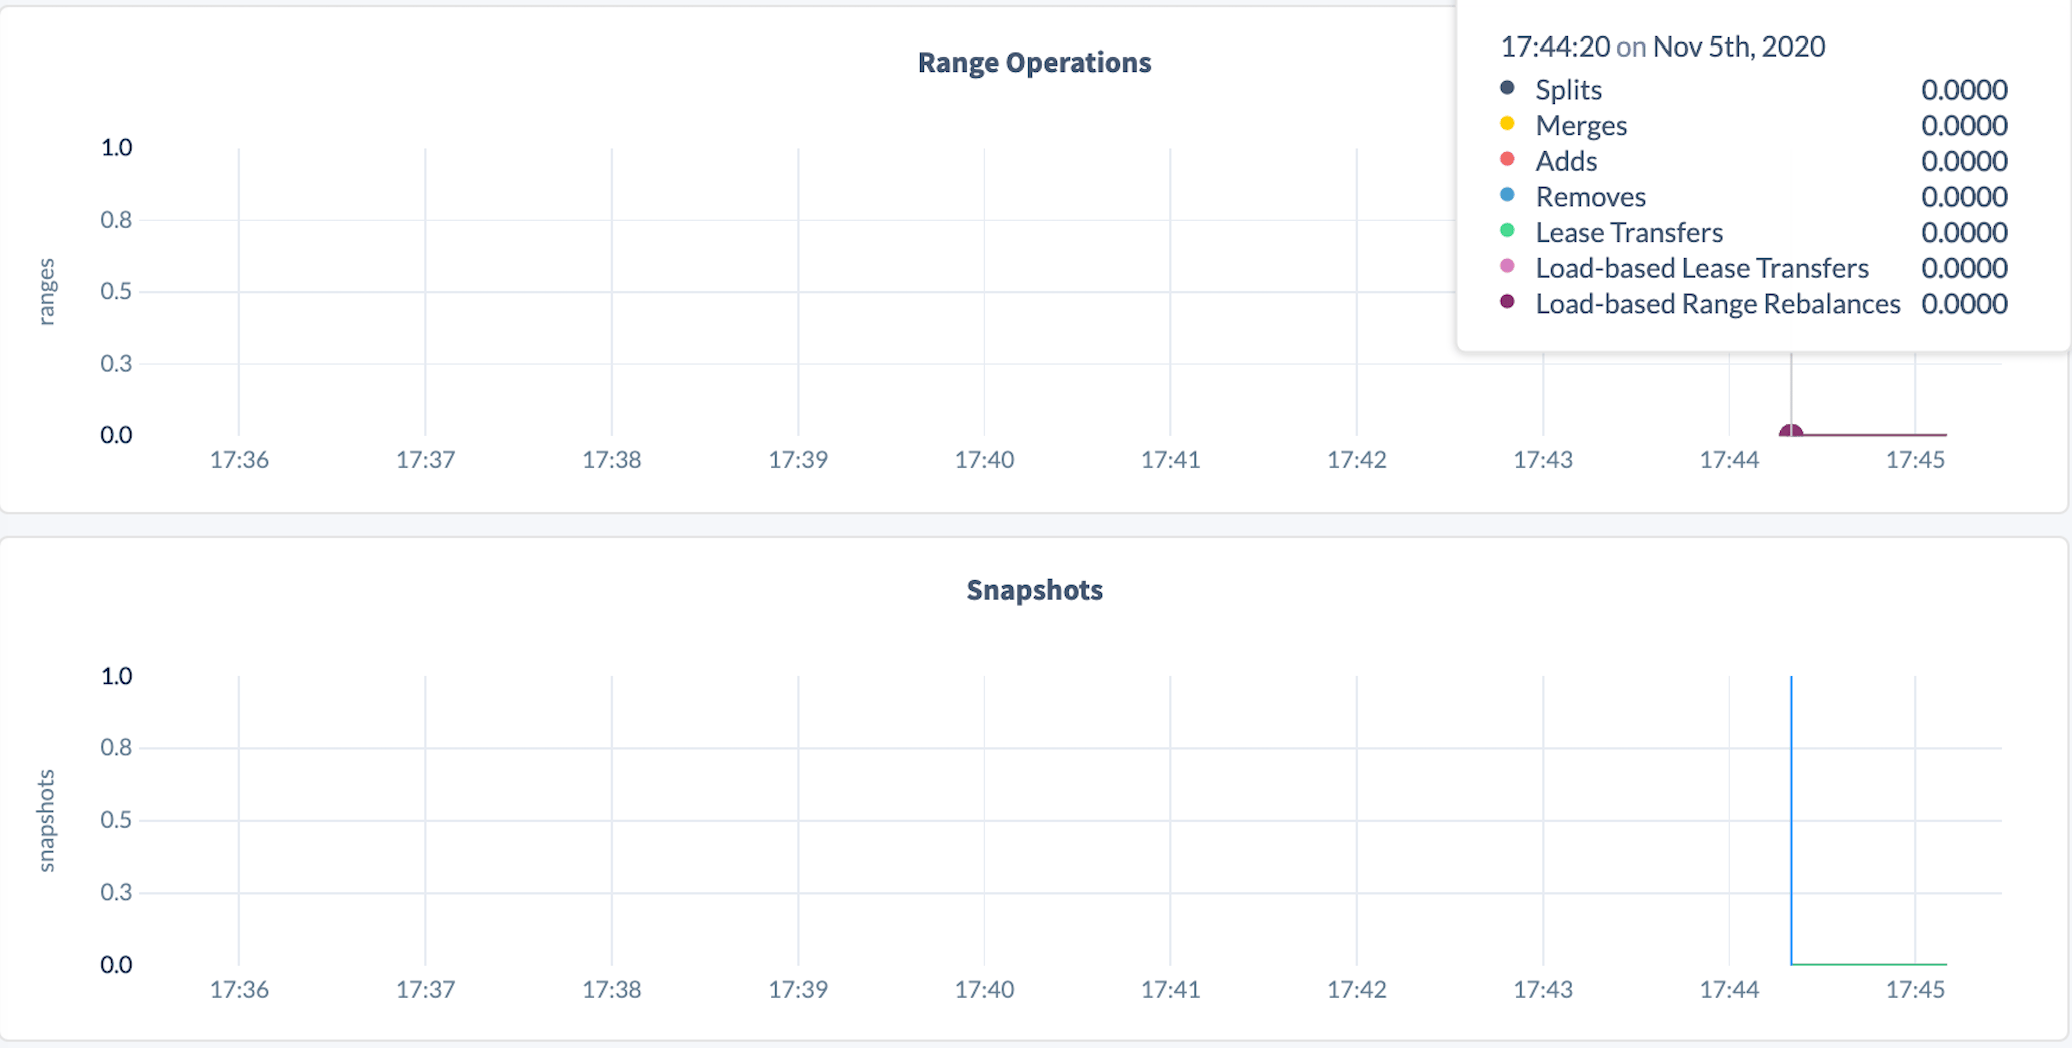
- Wait for up-replication and partitioning to finish. You will know when they have finished because both the number of lease transfers and snapshots will go down to
0and stay there. This will likely take 10s of minutes.- To monitor the number of lease transfers, open the , select the Replication dashboard, hover over the Range Operations graph, and check the Lease Transfers data point.
-
To check the number of snapshots, open the , select the Replication dashboard, and hover over the Snapshots graph.
Step 7. Allocate partitions
Before running the benchmark, it’s important to allocate partitions to workload binaries properly to ensure that the cluster is balanced.-
Create an
addrsfile containing connection strings to all 81 CockroachDB nodes: -
Upload the
addrsfile to the 5 VMs with theworkloadbinary: -
SSH to each VM with
workloadand allocate partitions:
Step 8. Run the benchmark
Once the allocations finish, run TPC-C for 30 minutes on each VM withworkload:
It is critical to run the benchmark from the workload nodes in parallel, so start them as simultaneously as possible.
Step 9. Interpret the results
-
Collect the result files from each VM with
workload: -
Upload the result files to one of the VMs with the
workloadbinary:
The following commands assume you’re uploading to the VM with the
workload1.histogram.ndjson file.- SSH to the VM where you uploaded the results files.
-
Run the
workload debug tpcc-merge-resultscommand to synthesize the results:You’ll should see results similar to the following, with 1.68M tpmC with 140,000 warehouses, resulting in an efficiency score of 95%:
See also
- Hardware CockroachDB works well on commodity hardware in public cloud, private cloud, on-prem, and hybrid environments. For hardware recommendations, see our .
- Performance tuning For guidance on tuning a real workload’s performance, see , and for guidance on techniques to minimize network latency in multi-region or global clusters, see .